How To Photograph Vivid Sydney Like A Pro
08 Feb 2023Vivid Sydney is such a stunning spectacle, you don't want your photo memories of this famous festival to be blurred, dark and impossible to share. Step into our world with Vivid Sydney, Naturally and get your social media feed looking bright and beautiful with nine photography tricks of the trade from Vivid Sydney photographer Daniel Tran.
Each year, we're blown away by the stunning photos across social media of Vivid Sydney, so we've also included below some stand-out snaps for inspiration, too, all taken by Vivid Sydney 2022 visitors! And when you take your best pic (after following Daniel's advice, of course), be sure to use the #VividSydney across socials, allowing us to share your beautiful shots with the world.
Look sharp
The most challenging thing about shooting Vivid Sydney is working with low-light levels: photos can appear too dark, have motion blur due to longer exposure, or look washed out with an unnecessary flash. Tran says the easiest way to combat blurry snaps is to stabilise the camera as much as possible when taking your photo: "Use a tripod or place your camera on a sturdy surface to reduce the likelihood of blurry images." Tran also suggests using your camera's self-timer function or a remote trigger via remote cable release/headphone cables so that you can avoid physically pressing the shutter button and creating movement during the exposure.
Forget the flash
"I hardly ever use a flash when photographing Vivid Sydney lights and installations," Tran says. "Though a flash can sometimes be useful as a subtle fill light when photographing people in front of installations, often the flash will be too powerful — especially on-camera flashes — and will need to be dialled right down." Tran suggests a better way to light up your subjects at Vivid Sydney is to reposition the shot and use the lights of the installations to brighten up friends and family. Faraway subjects like the Sydney Harbour Bridge and Sydney Opera House won't need a flash at all.
Let your phone do the work
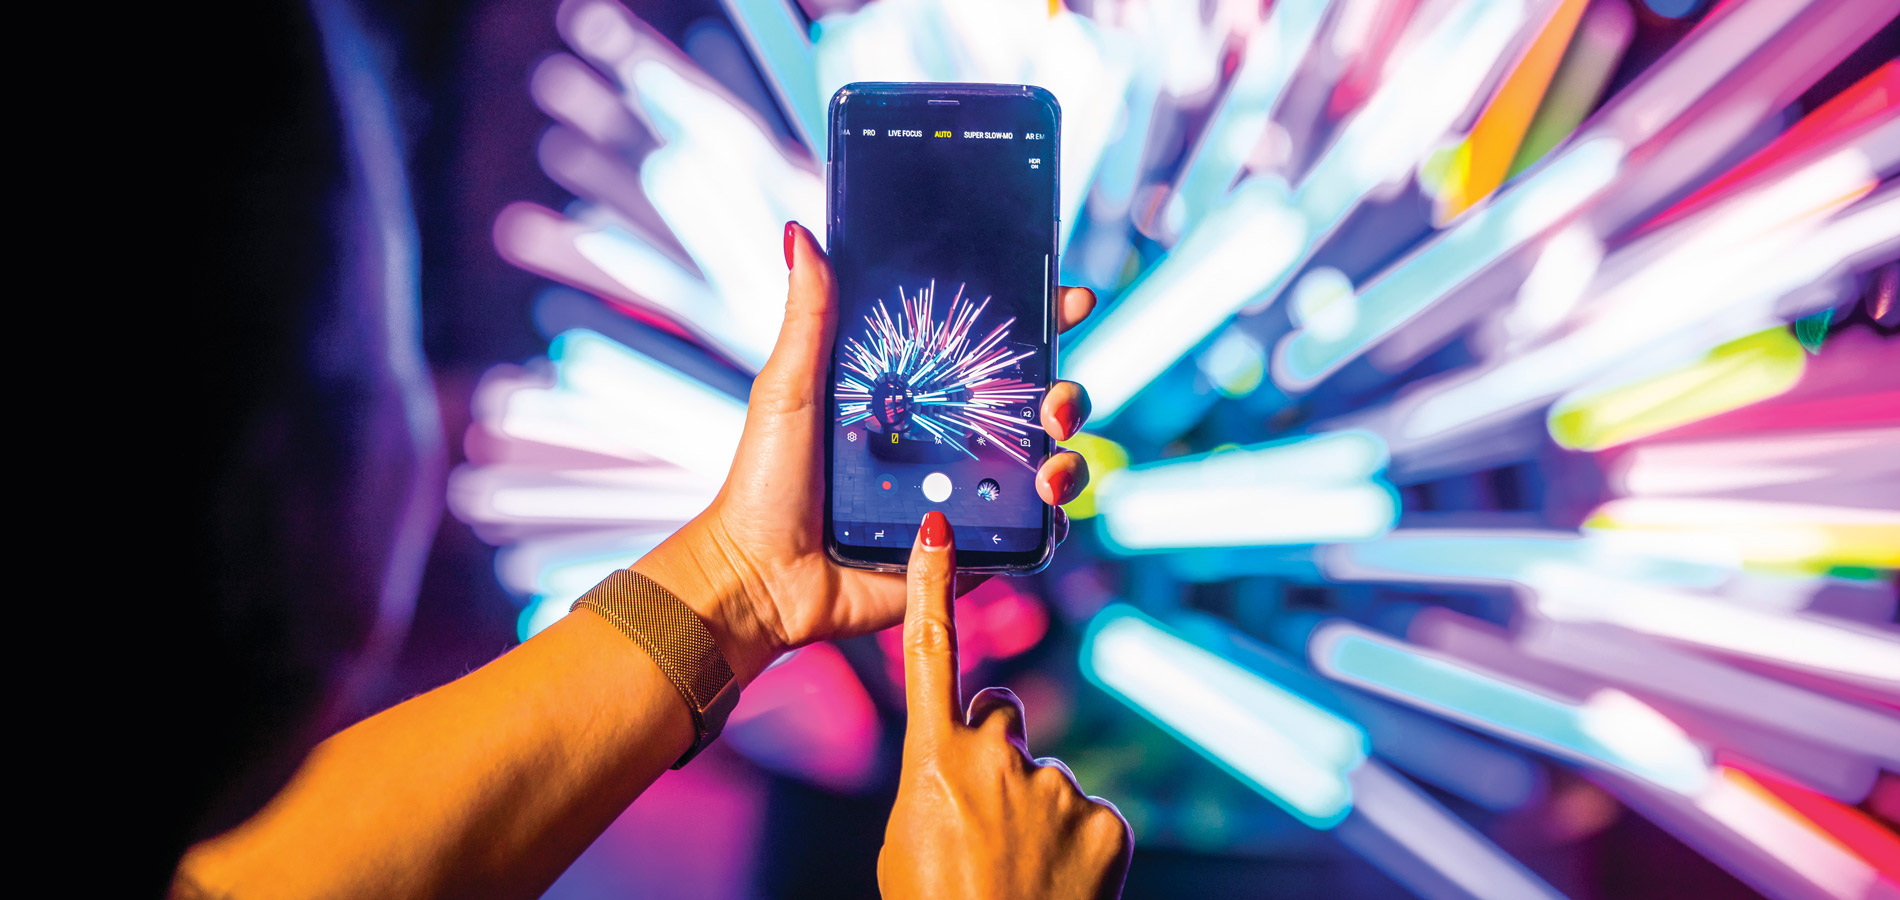
While a professional set-up and special camera equipment is essential for Tran to produce the high-quality images needed for Vivid Sydney, the photographer says a smartphone can definitely capture great night-time shots. "Some phones allow you to switch into manual mode which gives you complete control over the settings. You can then adjust the shutter speed and experiment with long-exposure photography," he says. "When you are setting up the photo on a phone you can also tap around the screen to select the area that you want to be in focus and expose for that specifically. If you long press on the screen you can then adjust the exposure to have a brighter or darker image if needed."

Engage your Night Mode
Some of the latest smartphones have night mode, which Tran says makes it easier than ever to capture great night-time content on your phone. This function detects the surrounding darkness and automatically increases the exposure of the photo to let in more light. You'll need to keep your phone still during this long exposure — a small tripod can help stabilise your shot. On Apple iPhone models 11, 12, 13 and 14, look for the moon icon in the top left corner: if it’s yellow, Night Mode is auto enabled. On a Samsung Galaxy S22, open the camera app, swipe 'more' and tap 'night' or use the Night Portrait mode.
Stay focused
After you've taken your shot, double check the focus to make sure the photograph looks sharp. "When images appear to be out of focus, adjust the focus ring or auto focus point, take another shot and review the photo again by zooming in. Repeat the process until the images look sharp," Tran says. "Unfortunately, there isn't much you can do if you realise the photo is out of focus afterwards, so it's best to double check to make sure you have the photo in focus before you move onto another location."
Get arty with the artwork
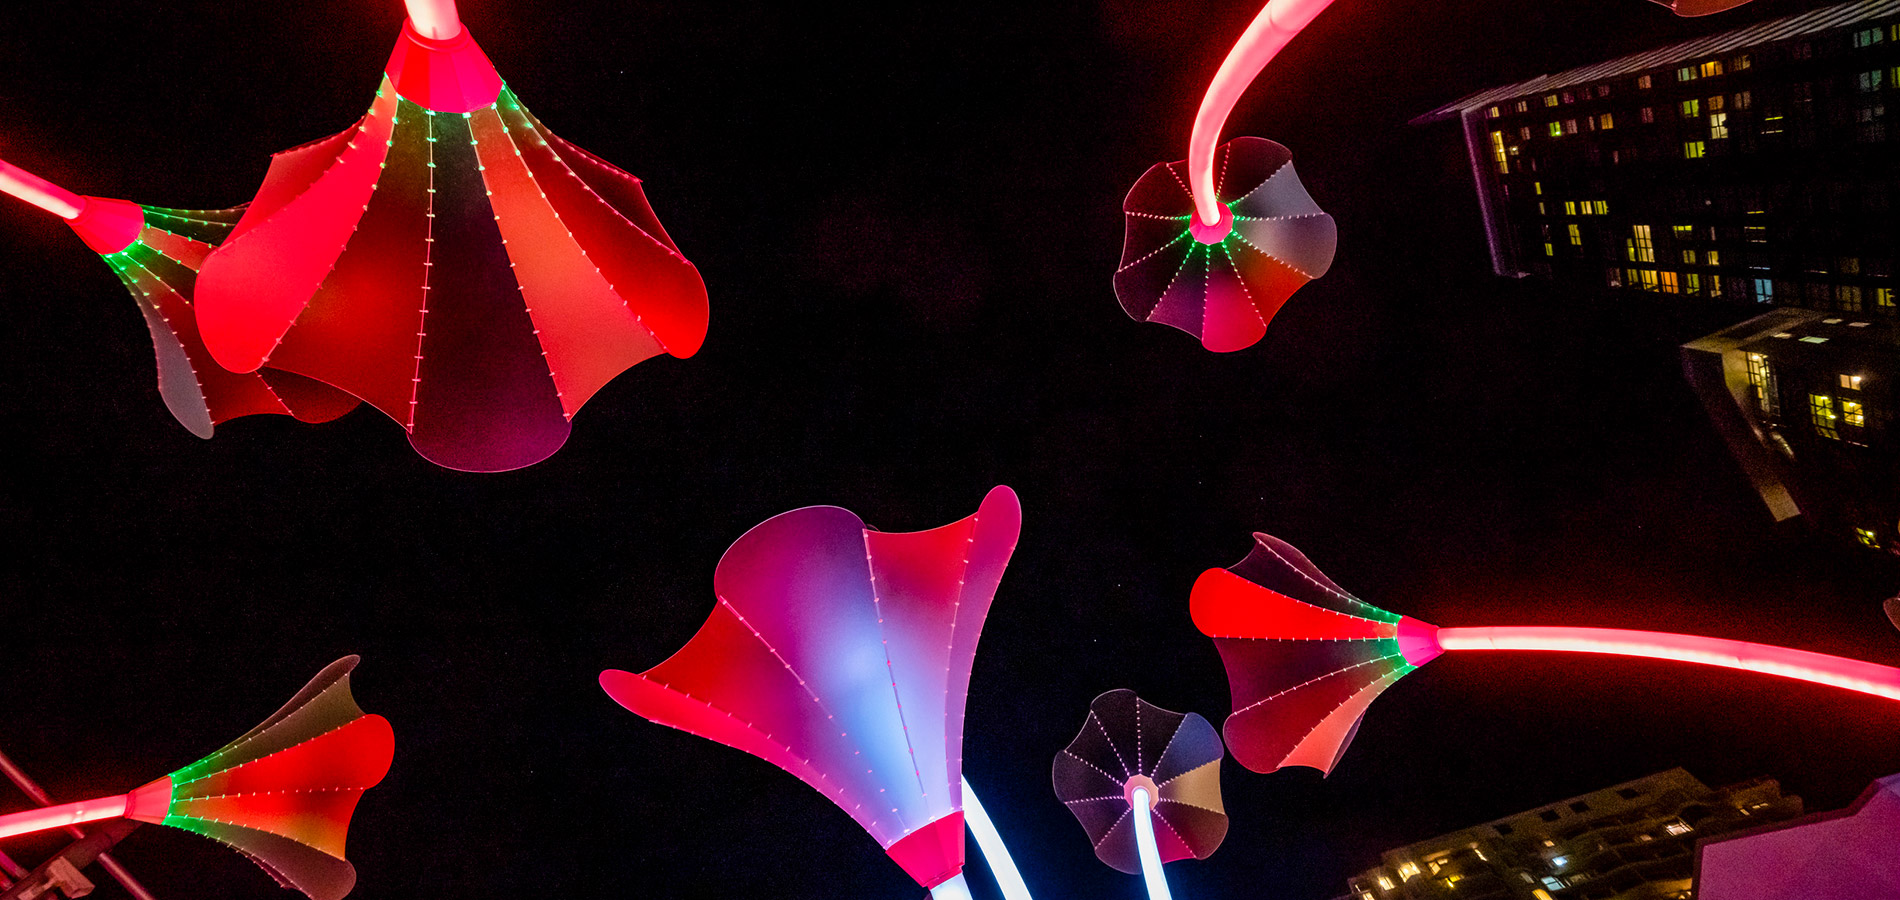
As well as using the light installations to brighten up your subjects, Vivid Sydney light art can also work well as a frame or, focus in on details so that your photos look more creative and unique. "While exploring Vivid Sydney keep an eye out for any interesting angles such as symmetry or leading lines to help frame your photo," Tran recommends.

Consider the exposure
Many of Vivid Sydney's light installations and projections move and change, in this case you will need to set a faster shutter speed as long exposure shots will result in a blur. "In these situations, it’s best to experiment with different shutter speeds until you reach the desired result," Tran says. "Keep in mind, when you are using faster shutter speeds you will need to compensate for less light entering the sensor by increasing the ISO or aperture to let in more light."
Don't take a rain check
Rain, rain, don't go away! "Don’t be afraid if it rains as this weather can sometimes produce interesting and unique photos — the lights and installations can look really cool with the wet reflections on the ground," says Tran. Another good time to visit is on a weeknight when it may be easier to photograph installations without other visitors getting in the way of your shot.
Pick the perfect spot
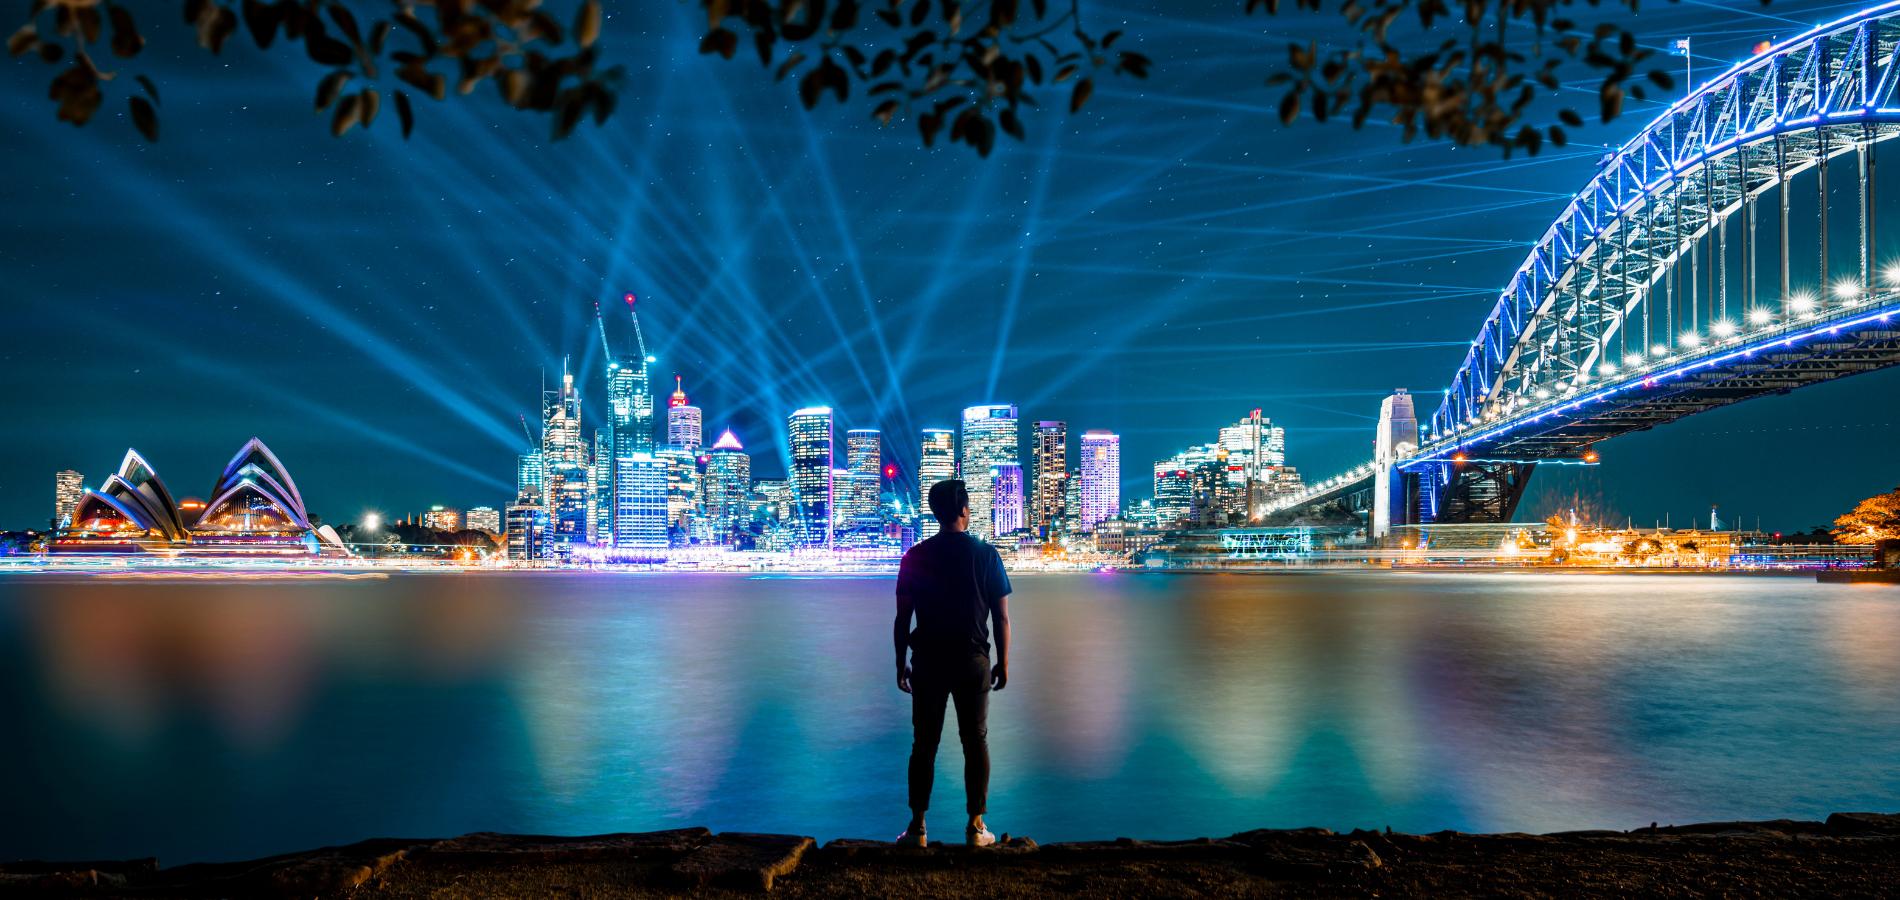
You don't necessarily need to be right on the harbour to get a good shot of Vivid Sydney, in fact some of the best shots are photographed from a distance. Tran recommends: "Sydney Harbour Bridge Walkway (near south pylon) for a view of the Sydney Opera House projections from an elevated perspective; Cahill Expressway for a view of both the Sydney Opera House and Sydney Harbour Bridge with ferries and boats on the Harbour; and Lavender Bay for a view of Luna Park, Sydney Harbour Bridge and Sydney Opera House in one photo."


